Taking a break to read through people’s Instagram feeds of gorgeous, high-quality photographs has a calming effect on us. And the majority of these photographs are taken by iPhone users who have mastered the skill of applying Instagram effects. Filters enhance the beauty and appeal of your photos. Instagram Filters
An Instagram filter is a basic tool created by Instagram that allows users to alter and improve the quality of their images.
All that is required is to use the filters that are currently available on Instagram. When you click on the filter, it will be applied to your photo automatically. Even after adding the effect, you can zoom in or out of the photo.
You can apply any of the filters Instagram offers to your images to make them seem fantastic. All of the filters on Instagram are free, and you can use them any way you like.
Choosing the proper filter for your images is essential, regardless of whether you are a pro or a beginner in the Instagram world.
Here are a few tips and tricks you must know on using Instagram filters that would make it really easy and time-saving to edit and upload your posts.
Table of Contents
1. Organize Instagram Filters

Instagram offers various filters with users making their own filters too. While trying new filters also save and organize filters that you like and that suit your personality.
This would save you when you need to choose the same filters thereafter also helping you in maintaining consistency. There are a lot of options for filters available on Instagram these days, while you can save them, you can also use multiple filters at a time.
Instagram allows you to edit your content in the app itself so that you do not necessarily have to keep other photo editing applications and invest more time using them.
2. Choose Your Own Tone and Style

While Instagram has changed in the past few years, filters are still an important retouching feature. Filters can rapidly give your material a certain design and mood, as well as provide visual cohesiveness for your identity.
To begin, make sure that the filters you choose are in keeping with the tone and style of your company. If you’re an antique fabrication shop, for instance, you might use filters with a little yellow tinge and a less vibrant hue to give your item a more old appearance.
If you’re a cutting-edge company, consider using filters with a blue tinge and a greater amount of sharpness. You should also choose Instagram filters that complement your image.
If you’re sharing food-related articles, for example, you would need to apply filters with strong concentration and intensities to make your pictures and videos appear more appealing.
If you’re a leisure company, on the other hand, you may need to utilize muted colors and richness to evoke a sense of peace.
3. Decide on Some Specific Filters for a Period

Using a consistent filter for developing your profile instead of altering it from time to time is unquestionably necessary. Find a filter that you really like and use it on all of your images. It is crucial to apply only one filter to each post in order for your feed to appear more appealing and catch people’s attention.
Using the same filter on all of your photos makes your feed look nice and tidy. Your feed will not look good if you change filters frequently, and it will appear strange to people stalking or following your account. To avoid this, it’s critical to show your stream in a professional manner.
The more professional your feed appears the more people will follow you. If you want to publish photographs regularly, avoid using the same filters over and over. Post on a regular basis, but within reason.
4. Choose an Aesthetic Filter That Makes Your Feed Look Consistent

Whatever you post on Instagram, be it pictures or videos the way your feed looks entirely matters a lot. If a user visits your profile, the first thing that makes an impression, good or bad, is your feed.
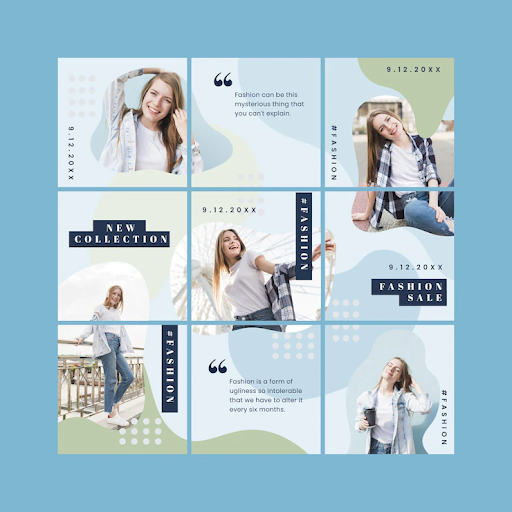
Make sure, with choosing aesthetic filters you also maintain a consistent looking feed by choosing the filters with the same combinations.
Creating such an Instagram feed also gives your profile and your business a unique identity that fits best according to what you are offering to the audience. With content, the way you present it is also as important since it also increases the chances of users getting more interested in the content you post.
5. Select A Theme

For anyone who is designing their Instagram feed, this is a crucial stage. A theme describes how you keep your Instagram grid up to date and how it appears. Look for different topics and make sure you understand what moods or themes are appropriate for your feed so that they can attract people’s attention.
Are you undecided about your preferred theme? Are you unsure of your theme’s style? To figure out what your theme is, try the following steps:
- Look for an Instagram account that you really enjoy.
- To get a comparable theme design, use the same type of photo as your favorite account.
- Make sure the photo you’re capturing is accurate.
Make sure to pay attention to these three points in particular which are the upkeep of your feed in general, the kinds of images you take, and the colors that are crucial in your photos.
Taking images becomes easier if you have a firm grasp on your preferred theme. You get a good notion of how you want to keep your feed up to date and how you want it to look. This will also assist you in obtaining genuine Instagram views while you can also learn more with Mega Famous.
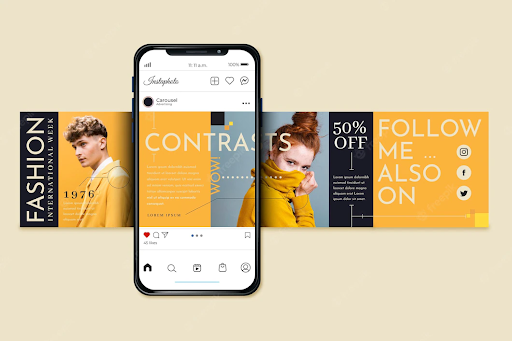
6. Add Filters To Carousel Posts

The filter page is the initial tab you see after choosing your photographs or clips to post to Instagram if you’re doing a carousel post.
The filter display is a little grainy here. This is how Instagram knows you’re applying filters to all of your photographs and videos rather than just one.
If you wish to add a filter to each of the materials in the series, simply click on the filter you wish to use, and it would be added to each of them.
If you’d prefer to choose a filter for every picture or clip separately, click on the material you want to modify and choose the filter you want.
Once you’re finished, touch Done to navigate to the carousel and click the following picture or clip to choose a tint and make modifications for that element of the material. Keep modifying till you’re finished, then hit Next.
Conclusion
These were some helpful hints for making the most of your Instagram filters. However, you’ll only grow better at it if you put them into practice effectively. Take advantage of a filter to create your post.


